
After seeing a FOTD on Palindrome Poppet’s blog I liked that she did it step by step and showed the before and after photos. I decided to do something similar on my go to comfort everyday look. For me this is what I do when I can’t be bothered with my make up and it takes me about 15 minutes to do.
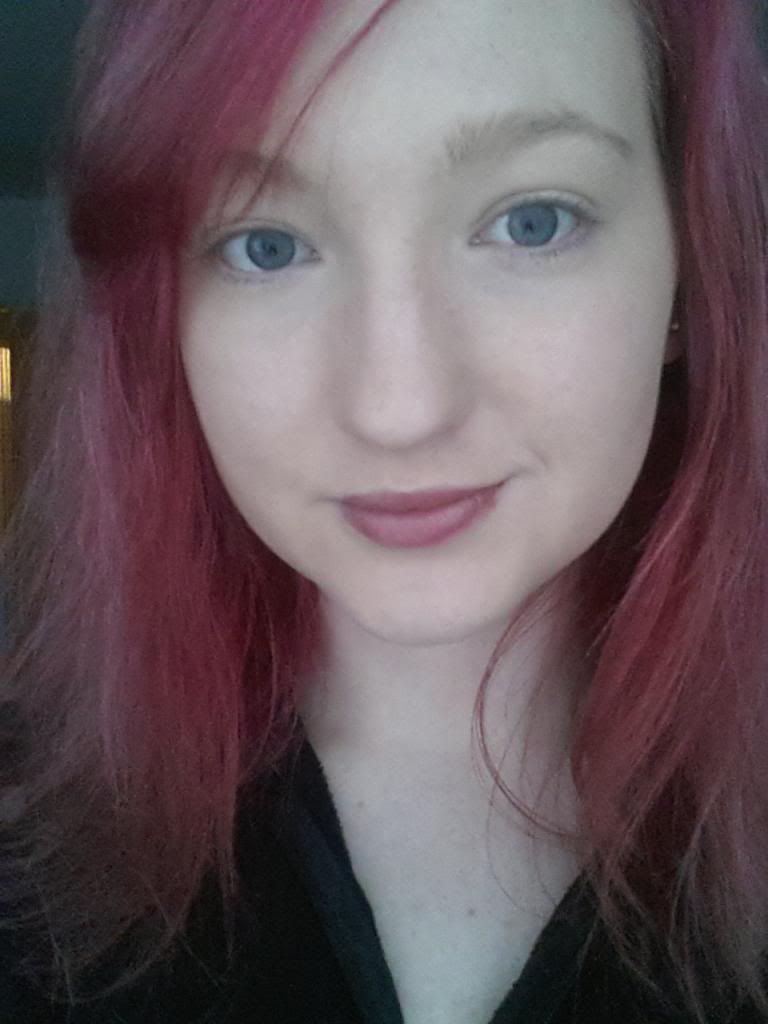
This is the first photo I’ve put on the blog completely make up free. Please ignore my hair I hadn’t done that yet either and it’s fading unevenly.
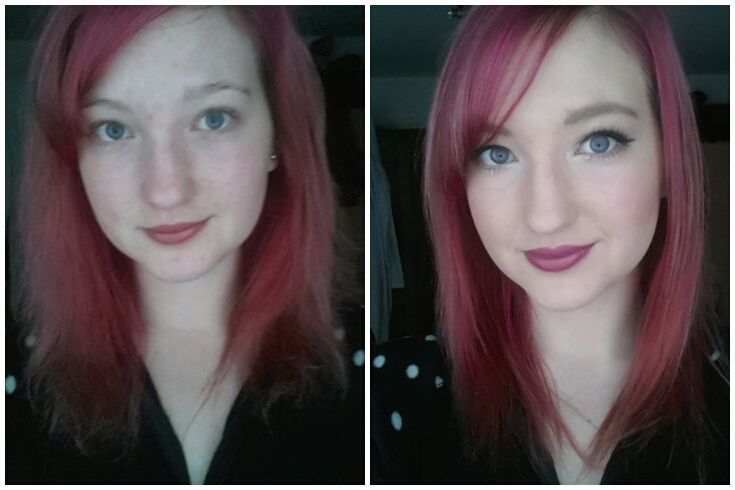
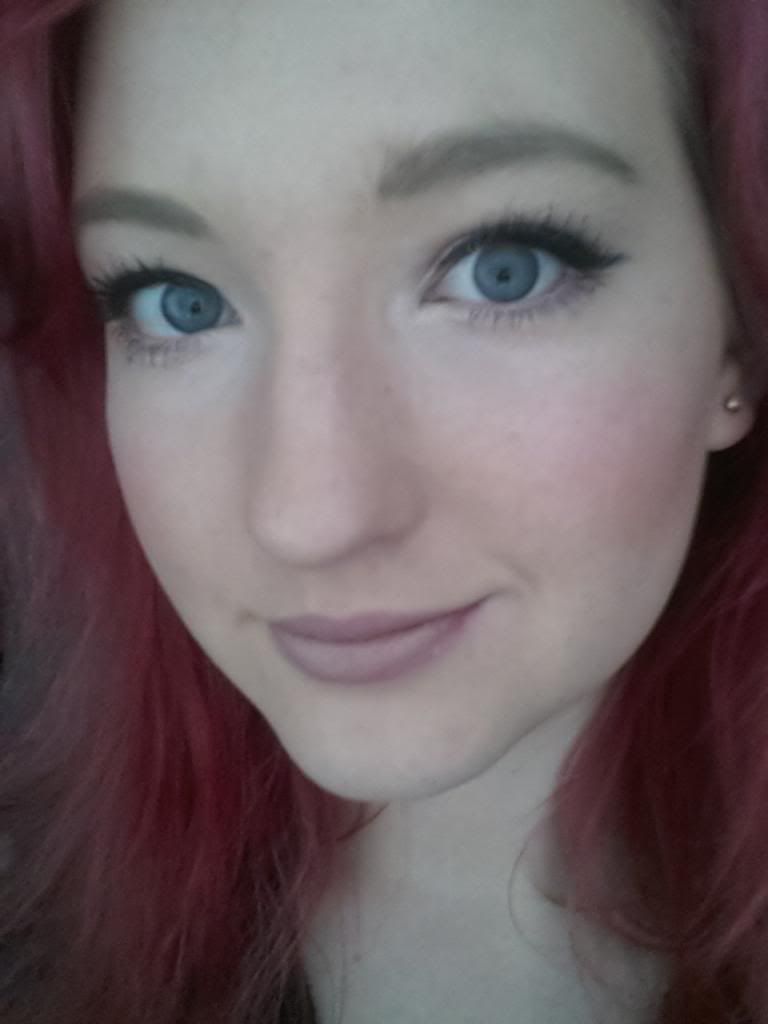
What a difference a bit of make up makes!

On my face I used
- Sleek blush by 3 in lace. I used the red shade
- Benefit Erase paste in Shade 1
- Miss Sport bronzer (I’ve lost my favourite No7 blush in honey)
- Mac Studio Fix Fluid in shade NW15
- Revlon PhotoReady powder in translucent.
I really love the finish of Studio Fix. It really evens out my skin tone, covers and imperfections and leaves a natural semi matte finish to the skin. This definitely beats my old love of Prolong wear.

On my eyes I used
- From Naked 2 Palette: Bootycall and Tease
- Maybelline Gel Liner
- Avon Super Magnify
- Lancome Hypnose Doll Lashes
- Eylure Shape and Shade brow pencil

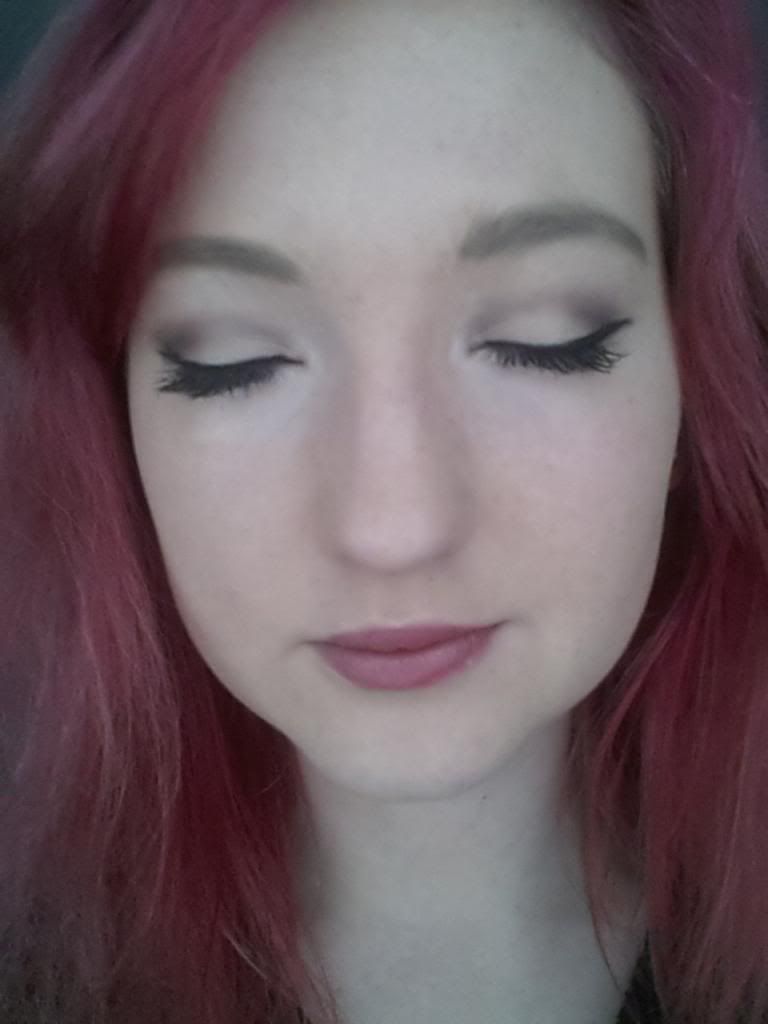
Firstly I apply my Erase paste reviewed yesterday to under the eye and over my lid as an eyeshadow base. I apply bootycall all over my lid and then blend tease into the crease. I really love tease. It’s the perfect crease colour and looks amazing blended out.
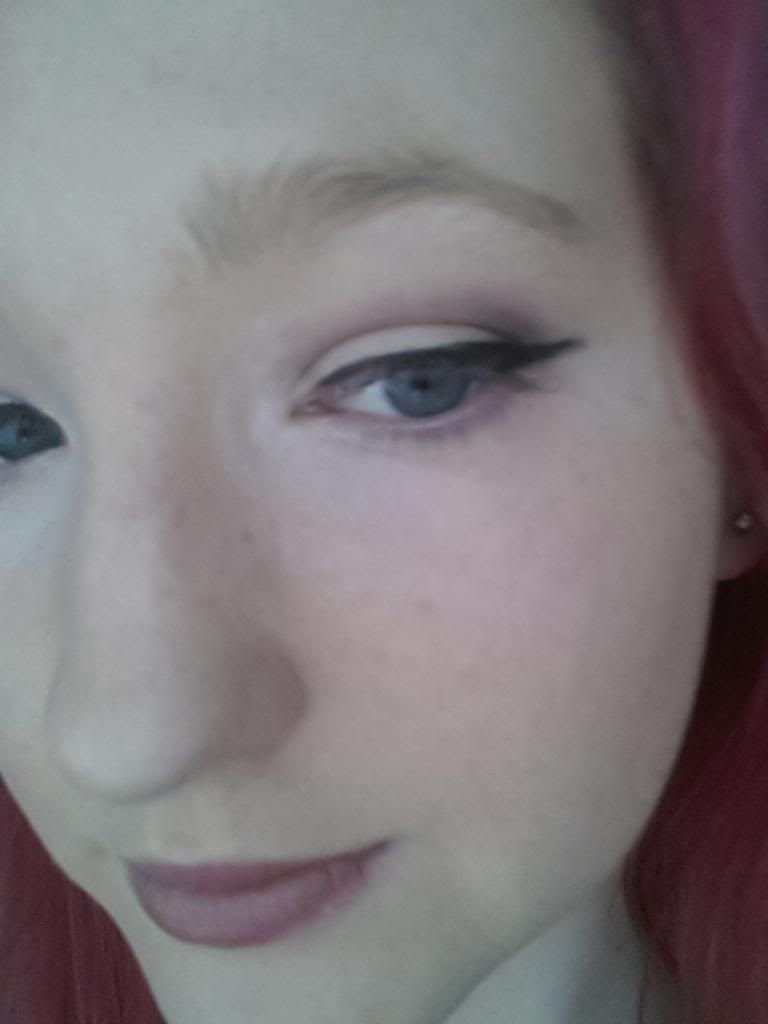
For this look I always used gel liner. I love gel liner and wear it most days. I find it much easier to work with than any other type. I find the maybelline last extremely well all day. I start of with a thin line and blend it towards the outer corner of my eye. With this look I don’t wear anything on my bottome lases. Just a bit of bootycall blended into the tear duct.
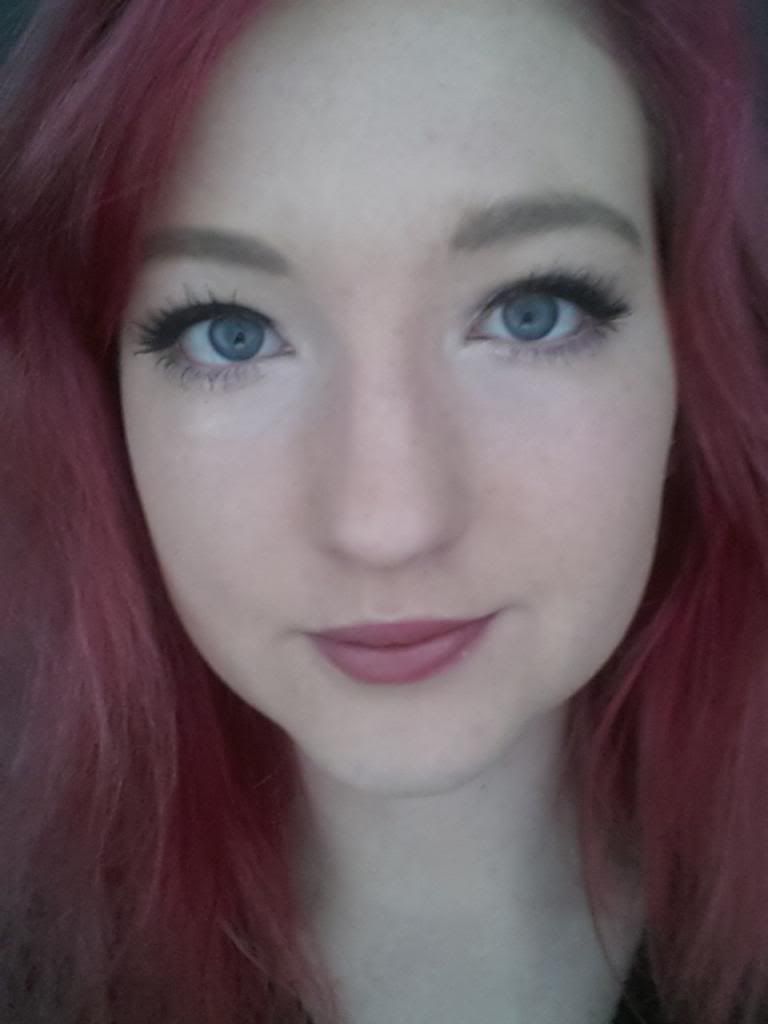
Next is lashings of mascara. I apply the Avon one first to separate my lashes, then my Lancome one on top to define and volumize.
I use the Eylure pencil to fill in my brows and give them some shape. I’m still learning and have now bought Brow Zings which I’m hoping will make me better at my brows.
For blush I apply a bit of bronzer to the hollows of my cheeks to make it look like I have cheek bones. Then I apply a small amount of the red from my sleek palette to the apples of my cheeks. This blush is so pigmented I have to use a light hand.

These are my go to brushes. The Avon one is what I use for Gel Liner and is the best of the best for gel liners. The accessorize brush was a brush my mum gave me from a set. I use it to put shimmer into my tear ducts. Then My Real Techniques Stippling Brush. The next brush is actually a lip brush I recently picked up in M&S for 25p it’s great for blending out the crease (which I use the brush from my Naked 2 palette to apply). Then the jolie box conealor brush. I like to blend my Erase paste in with this. FCUK blush brush. This is the softest brush ever. The Mac 168 I use to contour. It’s amazing and lastly is an avon fluffy brush I use to apply bootycall.
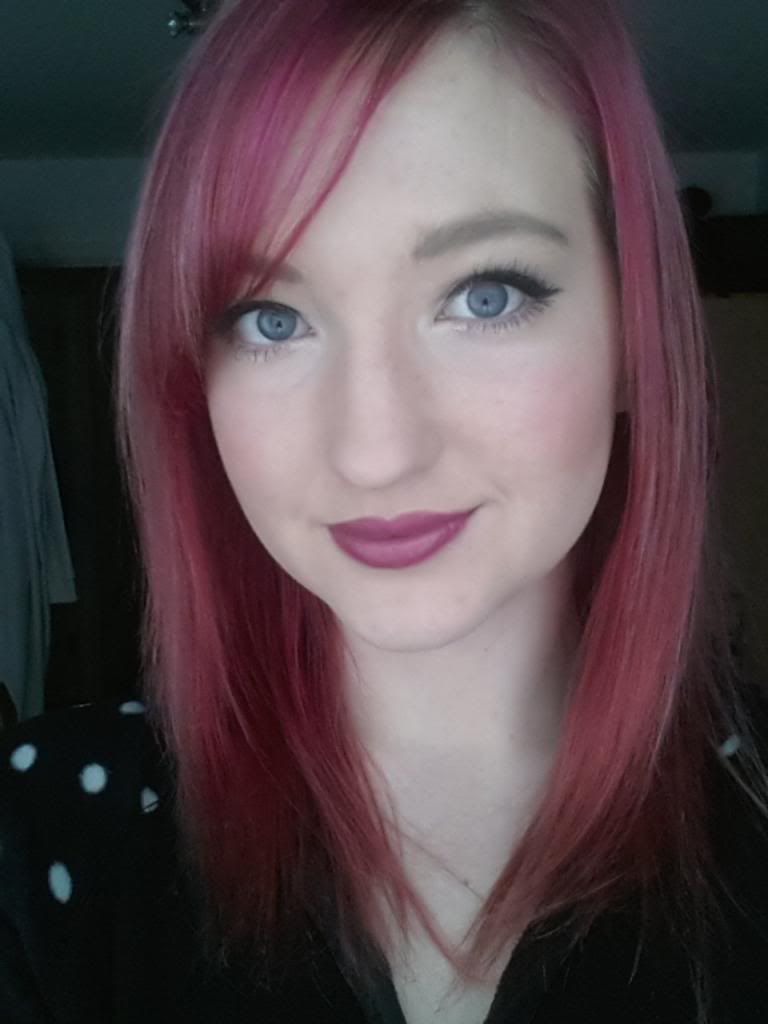
And last but not least my No7 lip liner in plum and Mac lipstick in Plumful. I love this shade. It’s a perfect pink colour. Followed by a gently powder with my Revlon PhotoReady.
And that’s my go to make up. Seems a lot when I describe it.
What do you think of step by step FOTDs? Do you prefer them like this or is it too photo heavy for you?
Love M
xxx
Great post! Love your makeup look here and I think with this sort of post the more photos the better! 🙂 Xx
Wow you look lovely and i love the lip colour, so gorgeous :)Sophierosehearts x
love that lippie
This look great 😀 xx